Appearance
Live reloading
COMPATIBILITY NOTE
This guide requires Node.js >= 8 and will target express. We currently recommend using Yarn, npm should work but was not tested. We assume your setup is similar to the one recommended for getting started
TIP
We will use nodemon and ts-node for live reloading, but any tool that allows us to hook into the reloading process will do. Alternatives may, i.e. be a combination of tsc -w and triggering tsoa spec-and-routes using onchange.
What we will talk about:
Reloading Code
Installing nodemon and ts-node
bash
yarn add -D nodemon ts-node concurrentlyCreating a nodemon config
Now, let's create a nodemon.json inside the root folder of our project that looks like this:
json
{
  "exec": "ts-node src/server.ts",
  "watch": ["src"],
  "ext": "ts"
}
Adding a dev script
Let's automatically start this setup with yarn run dev, and, while we're at it, a build and a start command in our package.json:
diff
{
  "name": "starter",
  "version": "0.0.1",
+ "scripts": {
+   "dev": "concurrently \"nodemon\" \"nodemon -x tsoa spec-and-routes\"",
+   "build": "tsoa spec-and-routes && tsc",
+   "start": "node build/src/server.js"
+ },
  "dependencies": {
  // ...
}
Supercharging our developer experience with SwaggerUI 🚀
SwaggerUI is a great tool to inspect our OAS and the requests our server can handle.
While other great tools like Redoc serve beautiful documentation, a major upside of using SwaggerUI during development is the instant feedback via the "Try it out" feature.
In order to make sure we always get the latest documentation during development, we will import the latest OAS file (build/swagger.json) every time someone hits that endpoint.
DANGER
For performance reasons, importing the contents of the OAS file only once after starting the application is recommended in production.
Installing Swagger UI Express
This module allows you to serve auto-generated swagger-ui generated API docs from express, based on our OAS file. The result is living documentation for your API hosted from your API server via a route.
bash
yarn add swagger-ui-express
yarn add -D @types/swagger-ui-express
Exposing a /doc endpoint
Below the body-parser, let's add another handler before the call to RegisterRoutes(app)
ts
// src/app.ts

import express, { Response as ExResponse, Request as ExRequest } from "express";
import swaggerUi from "swagger-ui-express";

// ...

app.use("/docs", swaggerUi.serve, async (_req: ExRequest, res: ExResponse) => {
  return res.send(
    swaggerUi.generateHTML(await import("../build/swagger.json"))
  );
});
TIP
In order to dynamically import json files, set
json
{
  "compilerOptions": {
    "resolveJsonModule": true
  }
}
in your tsconfig.json file.
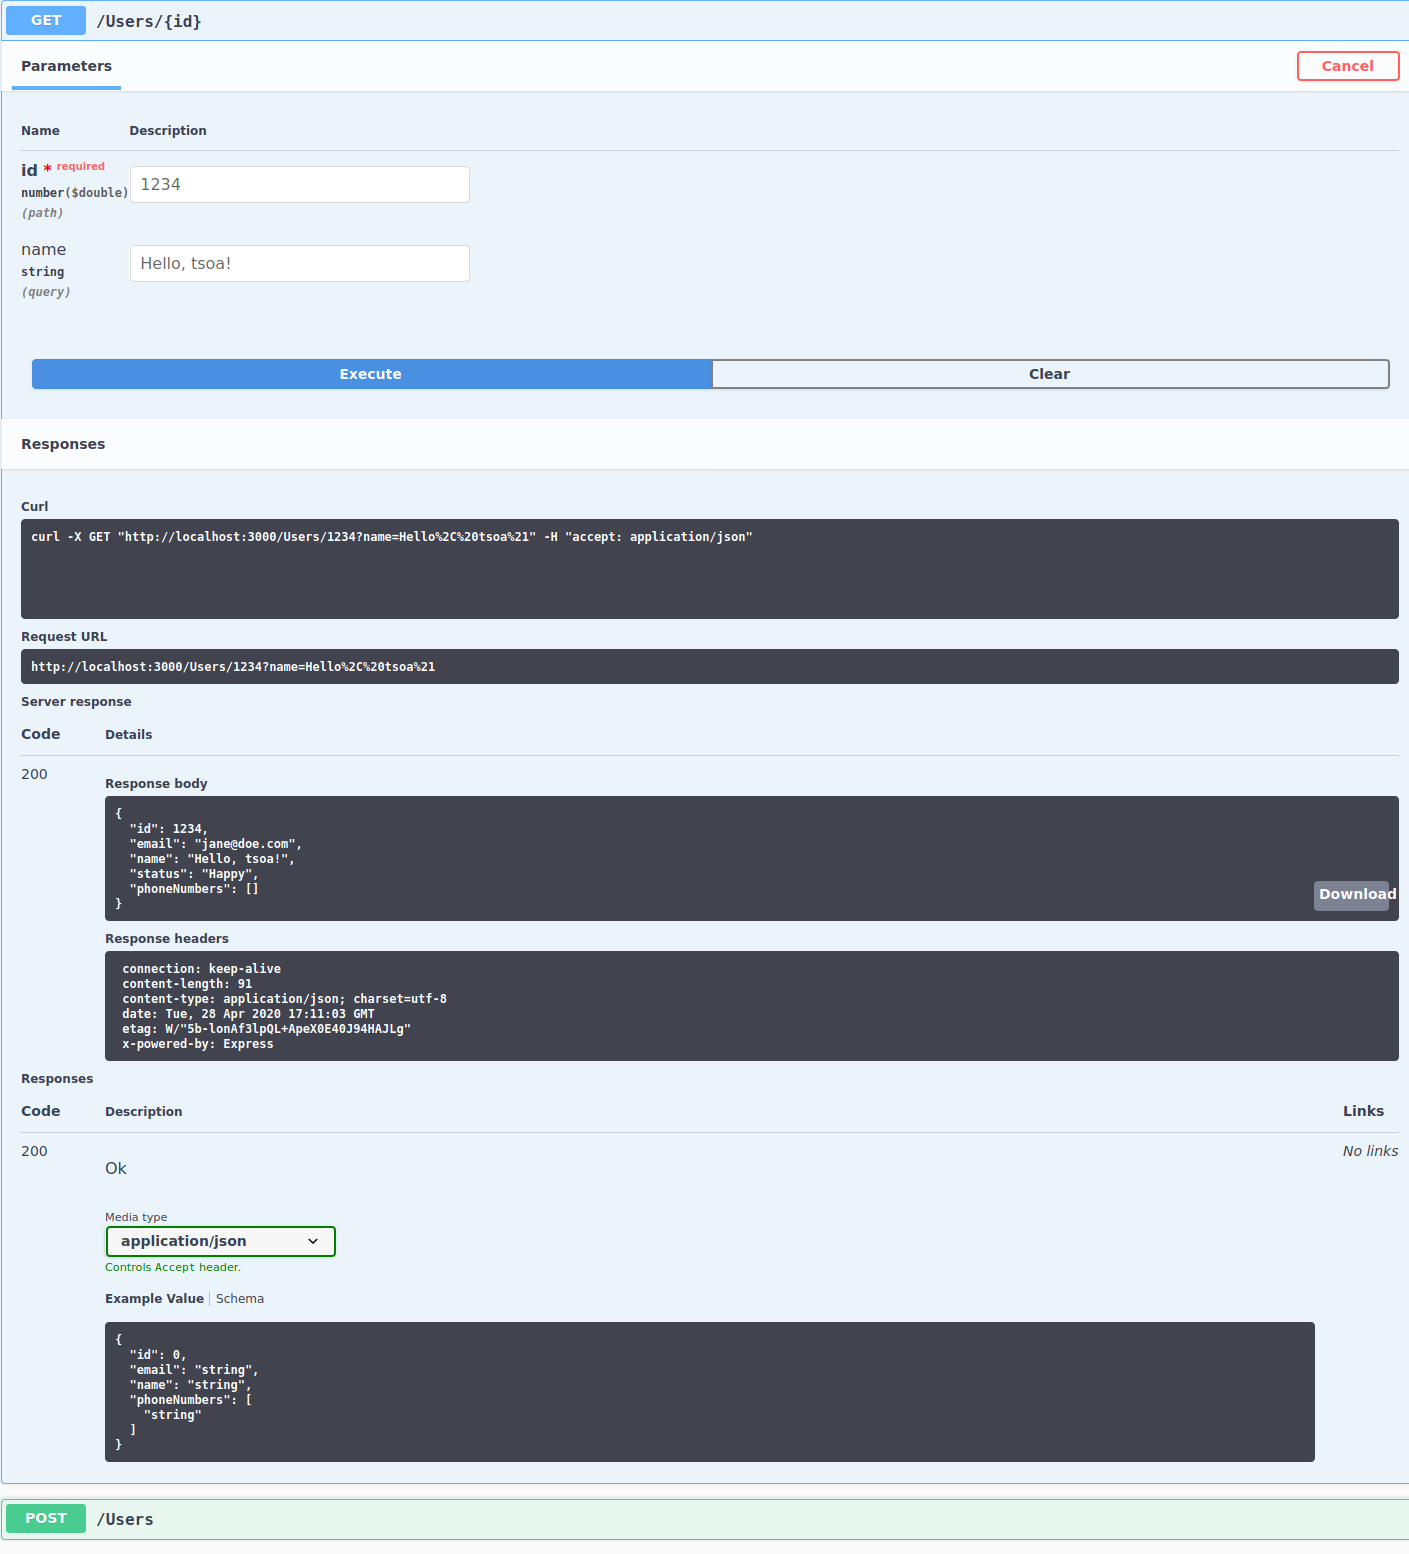
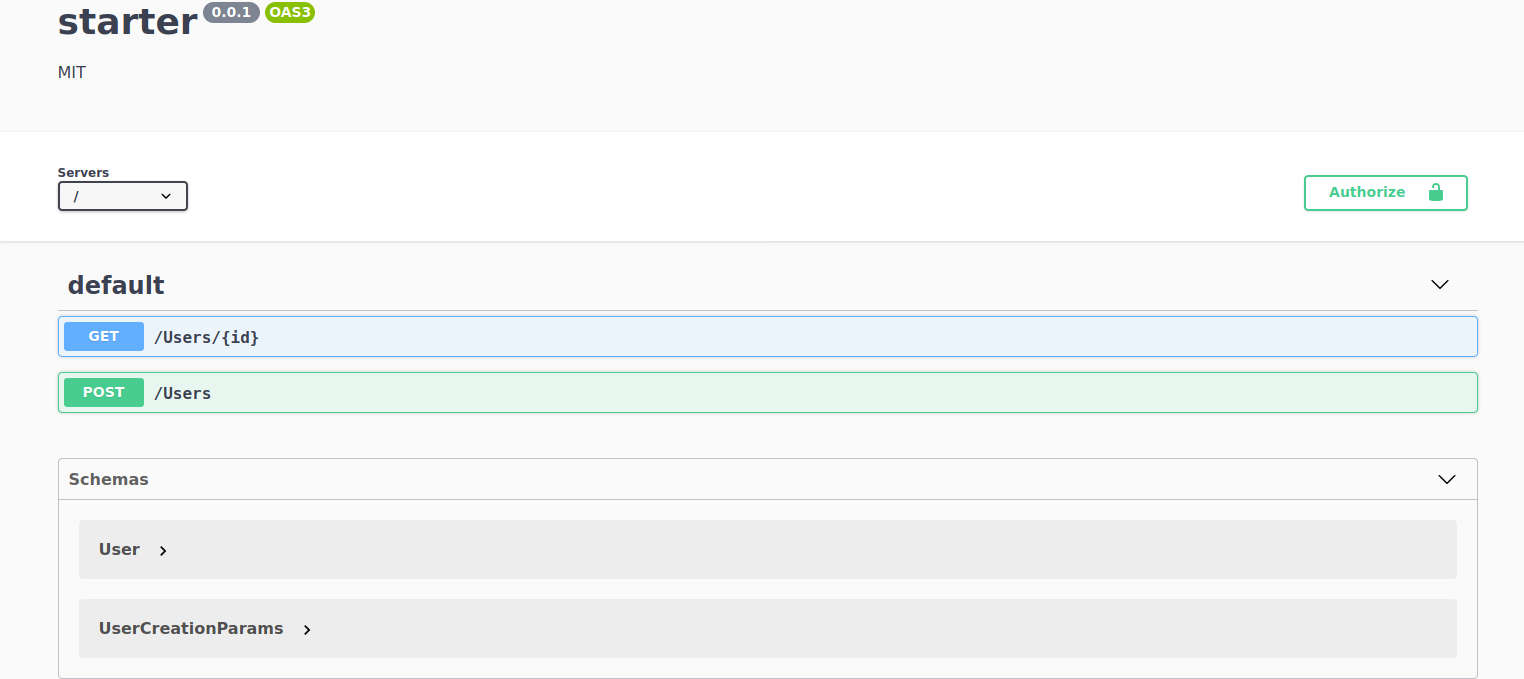
Inspecting the Documentation
Now, when we navigate to localhost:3000/docs, we should see a current reflection of our API.
Sending Request through SwaggerUI
We can select Endponts, click the "Try it out" button and submit some data by filling out the form. When we hit "Execute", that request will be sent to our server and the response will be displayed below the form.